Friday 31 August 2012

White Horse: a touch of colour


With all the gold outline done, it's time to start adding the colour.

As with Earth mini, the knotwork is to be in Madeira stranded cotton 1406, worked in split stitch.  As with the gold outline, I worked the separate part of the knot, the one with the leaves and stalks on it, first:


The colours haven't come out well in the photo, but you can still see that it makes quite a difference.

The rest of the knot next.

Tuesday 28 August 2012

White Horse: horse outline


After completing the gold knot outline, there was just the horse itself to do, which didn't take too long.  And here it is:


That's all the gold chain stitching completed, so next I can start adding colour.  That should make a big difference!

Friday 24 August 2012

More Wow


I've had a lot of very nice comments about my stone carving attempts, so I thought you might be interested in seeing a bit more work on it.

I was very pleased with it, overall, but in certain lights, particularly when the light was directly from the front, the letters were quite difficult to see.  I'd noticed this during the course, and had had a word with Peter, the tutor, about painting them in.

Peter recommended sealing the stone first; limestone is quite porous, so without being sealed the paint would simply sink in.  This might not look too good, plus would make removing any mistakes a lot more difficult.  So, bearing this in mind, I headed to my local B&Q (a hardware chain store), and bought a bottle of stone tile sealer.  This specifically listed limestone as one of the things it can be used for, and so sounded ideal.

Having tried all of this on the back first, just in case, I first treated the surface with the seal, which dried to a completely colourless, matt finish:


To try and minimise the possibility of mistakes, I put masking tape along all the straight bits, though there wasn't going to be much I could do about the 'O' except be very careful:


To prepare the surface as best as I could, I first painted the letters in with gesso:


And then in gold:


Well which colour did you think I'd pick!

The other two letters:


It looks quite yellow here, but it's quite shiny and gold-looking in reality.

Finally, with the masking tape removed, and in sunlight:


I'm very pleased with how it's turned out; the letters are now visible in all lights, and still provide a good contrast of light and shade when the light is from the side.  Some of the wobblier edges are also now less obvious, as they weren't painted, so that's an improvement.

I'm still not planning on doing a great deal in stone, but I've enjoyed what I have done immensely and am very happy with what I've ended up with.  I think I might try some other crafts occasionally too...

Tuesday 21 August 2012

White Horse: knot outline

Back to business after the stone carving excitement, and the rest of the gold edging for the knot:


That really makes a difference in seeing the overall knot design, doesn't it.  Just the horse itself to outline now, which shouldn't take too long.

Friday 17 August 2012

Stone carving workshop


On a whim, and with no prior experience whatsoever, I signed up for a stone carving workshop, held last Saturday at the Mushroom Works in Newcastle.  The course was on carving lettering, something I've always liked, and despite never having picked up a chisel before, I went along.

There were six of use on the course, taught by the endlessly patient sculptor and stone carver Peter Graham.

We each chose our stone, and then decided what we were going to do with it.  In order to be able to do something manageable we could finish in the time, there was only room for three to five letters on each piece, but that was quite enough to be getting on with!

Following Peter's clear instructions at each stage, I traced round the stone onto a piece of paper, and cut it out, providing an exact template.  I then marked construction lines onto it, to centre the text I wanted to carve:


Peter provided sheets of letters to trace onto our templates; I didn't fancy just doing my name, and so chose something else instead:


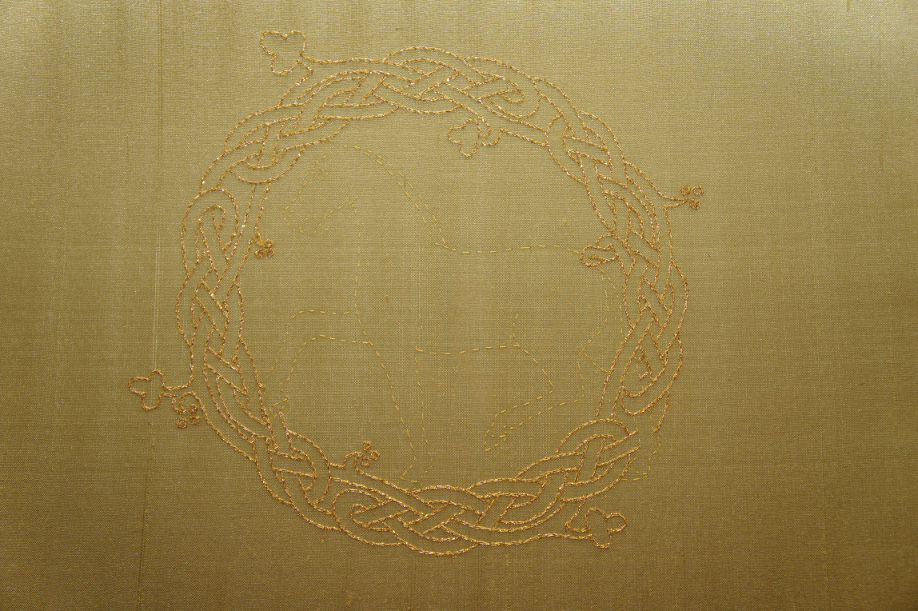
You can't see it, but under here is the stone block:


I taped the template to the top, placed a sheet of carbon paper under it, and traced the design, marking it exactly onto the stone:


Peter gave us a demonstration of how to carve a straight line:


He made it look very easy, but I can assure you that it isn't!

To practice, we started trying to carve lines on the back of our blocks:


The nice neat line in the centre was done by Peter, not me!

Here I am, struggling with following a line, and gripping both the chisel and the mallet far too tightly:


(Thanks to Nick for the photo)

I did get a bit better as the day went one, fortunately.

Finally, the time came to start on the real thing. I drew a line up the centre of the first straight section of the first letter (Peter said to start with a narrow one, which was scary), and then chiselled as fine a line as I could manage along it:


I then worked along either side of it; the idea is to chip away a bit at a time to make a 'V'.

Here are all four straight lines done:


With help from Peter, I did the pointy bits:


And the serifs at the top:


Next, the 'O'.  A curved line follows the same principle  as a straight one, so starting with the narrowest bits of the letter:


Followed by joining them up with the wider parts:


And the second 'W', complete with pencil marks showing the parts Peter felt I needed to tidy up:


Here it is on the easel, along with the mallet and chisel:


It was a bit scruffy and covered in dust, so on getting it home, I ran it under the tap to rinse it off, and rubbed it down with fine sandpaper to clean it up.  And here it is:


Given that I've never done anything like this before, I'm pretty pleased with how it's turned out, though I think I'll be sticking with embroidery!

Tuesday 14 August 2012

White Horse: half the knot's gold edging


A quick update on progress: I'm coming along nicely with the gold edging for the knot, with one side of the main knot now completed:


Now that the Olympics are over, I have no excuse not to get on with it!

Saturday 11 August 2012

Durham Cathedral photography evening

Durham Cathedral does not allow photography inside, but occasionally they have ticket-only photography evenings.  There was one this Thursday, and I went along.

It was a perfect summer evening, and Durham looked beautiful.


The evening was very well attended - we all spent a lot of time trying to keep out of other people's shots!


I must admit to a particular fondness for stone, particularly carved and worn stone, so a lot of my photos were of that (there's plenty to choose from in a building over 900 years old), but that tends to get a bit dull for everyone else, so I've left (most of) that out here.  I've also left out the photos I took of the various textiles on display - next month, I'm booked on a guided tour of the Cathedral's textile collection, so I'll use the pictures I took this week as part of a post on that.

There's still plenty to see, though - it's a stunning building.

The high altar and the carved stone screen behind it:


The medieval clock:


The Bishop's throne, above the ornate tomb of one of his predecessors:


And of course St Cuthbert's shrine:


There are also some striking examples of contemporary devotional art, including a huge pieta in wood in the Chapel of the Nine Altars:


While in the Galilee Chapel there's a sculpture of the Last Supper:


A piece representing the Annunciation looked stunning in the evening sunshine streaming through the windows:


The tomb of the Venerable Bede is in the Galilee Chapel, with a carved and gilded text behind it:


And a lamp hanging over it:


The Chapel also has some surviving fragments of medieval wall paintings:


The Chapel itself:


And the main body of the Cathedral, with the view down the nave:


Some carved stone:


And some more:


And the amazing Romanesque architecture:


And again:


I couldn't leave without a photo of the Sanctuary Knocker:


As I left, the bells were ringing, so with apologies for the incompetent video, I'll leave you with them.

Monday 6 August 2012

White Horse: first bit of gold edging

I have a confession to make: I've spent almost all my free time for the past week or so watching the Olympics and have hardly done any sewing at all.  If the client's reading this, I'll make the time up when it's over, promise!

I have felt guilty enough to do a bit, though, and have started the knotwork outline.  As with the Earth mini, this is in Gutermann metallic thread in gold, worked in chain stitch.  This is horrible stuff to sew with as it just shreds - I presume it's meant for hand sewing as what it could do to your sewing machine doesn't bear thinking about - but I really like the effect it gives so I put up with it.

So, the first bit of gold outline:


You will notice that even though this is part of the knotwork, it seems to be forming a square.  I can't remember much about drawing this - it was ages ago - but I seem to have decided to make a feature of this fact as all the little leaves and stalks are on this ring, not on the rest of the knot.

The rest of the knot outline next, though if Team GB look like they may win another medal, it might have to wait!